This article is simple guide on setting up Llama 2, a powerful large language model, on your gaming laptop using Docker and the Ollama platform. Ollama makes it very easy to run many LLMs locally. In this detailed article, I’ll cover each step, such as Ollama installation and ease of interaction through a Chat GPT-like UI. Before we go into the technical details, let’s understand what a large language model is.

What is a Large Language Model?
Large language models, like Llama 2, Code Llama are advanced artificial intelligence algorithms designed to understand and generate human-like language. These models are trained on massive datasets (like thousands of books), learning the fundamentals of language structure, context, and syntax. Llama 2, in particular, is a versatile language model capable of various natural language processing tasks, making it a valuable tool for developers, researchers, and enthusiasts. And it is open source. So, we can use it for free.
Prerequisites:
Before diving into the installation process, let’s ensure your system meets the necessary prerequisites:
- Minimum RAM: 16 GB (8 GB is fine but may result in slower performance)
- Docker: Install the latest version of Docker on your machine. If you don’t have it, visit Docker’s official website for detailed installation instructions.
- For Windows Users: Install the latest version of Windows Subsystem for Linux (WSL 2). (I couldn’t get the GPU to work, I’ll learn more and keep this blog updated).
- For Linux Users: Ensure you have an Nvidia GPU. Note that you may need the Nvidia Container Toolkit[3] for GPU support.
Installing Docker:
If you haven’t installed Docker yet, follow these steps:
Download and Install Docker:
- Visit Docker’s official website.
- Choose the right version for your operating system.
- Follow the installation instructions provided.
Setting Up Ollama with Docker:
Now, let’s set up the Ollama Docker container for Llama 2:
1. Install the Ollama Docker Container:
docker run -d --gpus=all -v ${PWD}:/root/.ollama -p 11434:11434 --name ollama ollama/ollama
- This command downloads the Ollama Docker image and creates a container named “ollama,” exposing Ollama’s APIs on port 11434.
- For Linux users, the option –gpus=all enables GPU support.
2. Run the Llama 2 Model:
docker exec -it ollama ollama-run Llama2
- Execute this command to run Llama 2 inside the Ollama Docker container.
Installing Chat GPT-like UI:
Enhance your user experience by installing the Ollama-webui container:
docker run -d -p 3000:8080 --add-host=host.docker.internal:host-gateway --name ollama-webui --restart always ghcr.io/ollama-webui/ollama-webui:main
- This command creates a container named “ollama-webui” and exports it to localhost:3000.
Accessing Your Chat GPT:
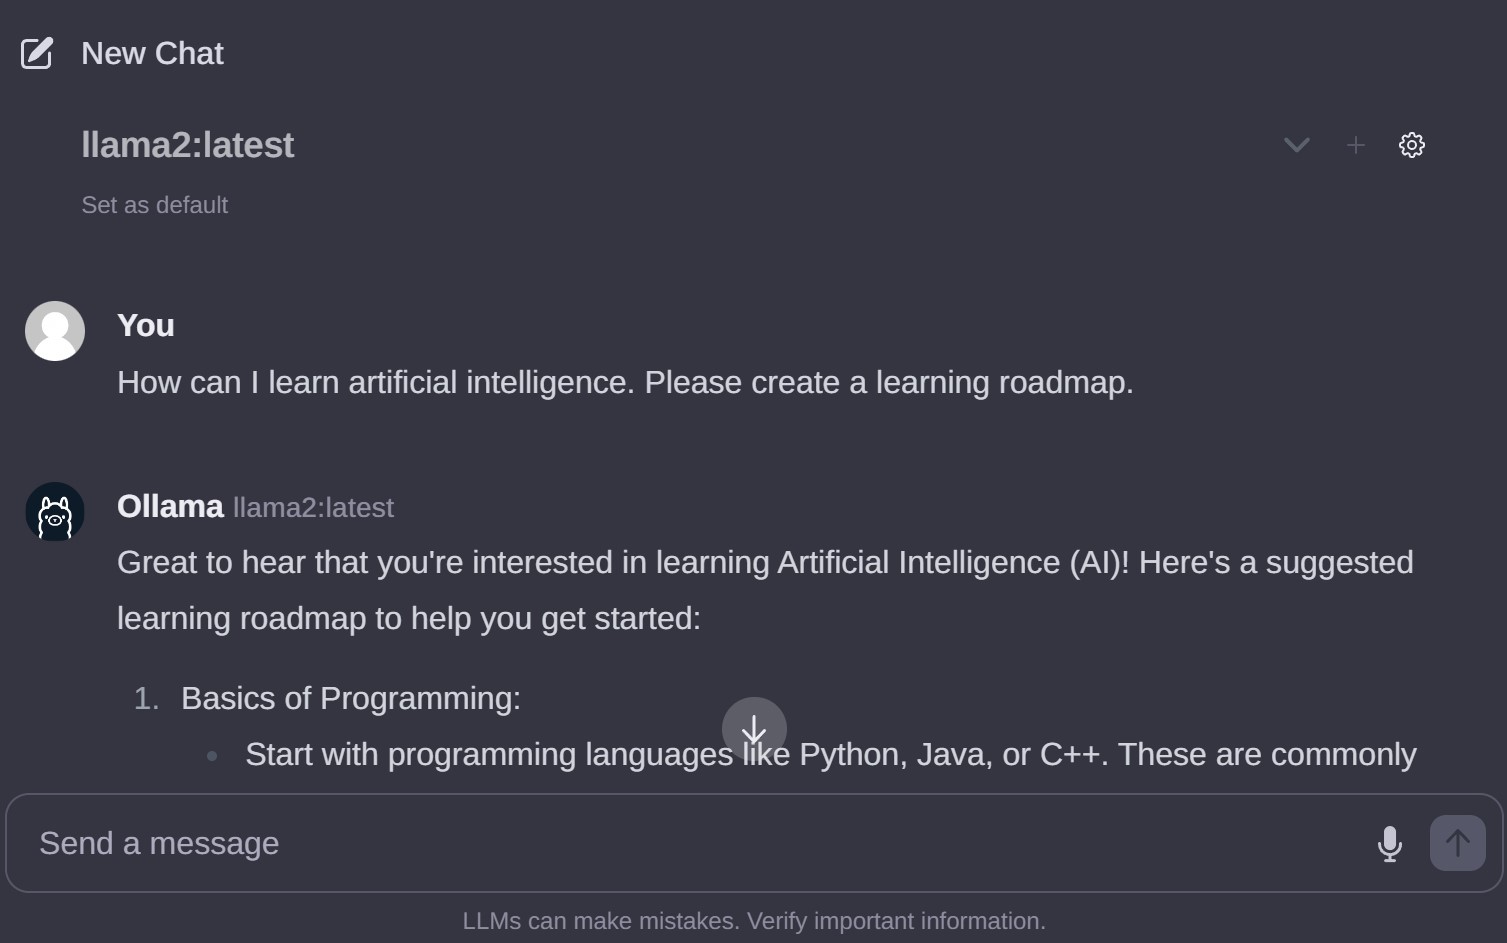
With everything set up, access your Chat GPT from your browser at http://localhost:3000. Enjoy the chatting with your AI in a user-friendly interface with all your data stored locally for maximum privacy.

Additional Tips and Considerations:
Disclaimer: Keep in mind that the response time of Llama 2 may vary depending on your machine’s capabilities.
You can also install other models. Find a model from Ollama Library and run it inside the a container just like we did with Llama 2.
Reference Links:
- Stackoverflow - Mount a drive
- Docker Official Website
- Ollama Official Website
- Ollama Models Library
- Nvidia Container Toolkit Installation Guide
- Ollama Webui GitHub Repository
This complete-ish guide provides a step-by-step approach to setting up and running Llama 2 (and other LLMs) on your gaming laptop using Docker and the Ollama platform. If you encounter any issues or have suggestions, feel free to leave a comment.
Have an awesome day!